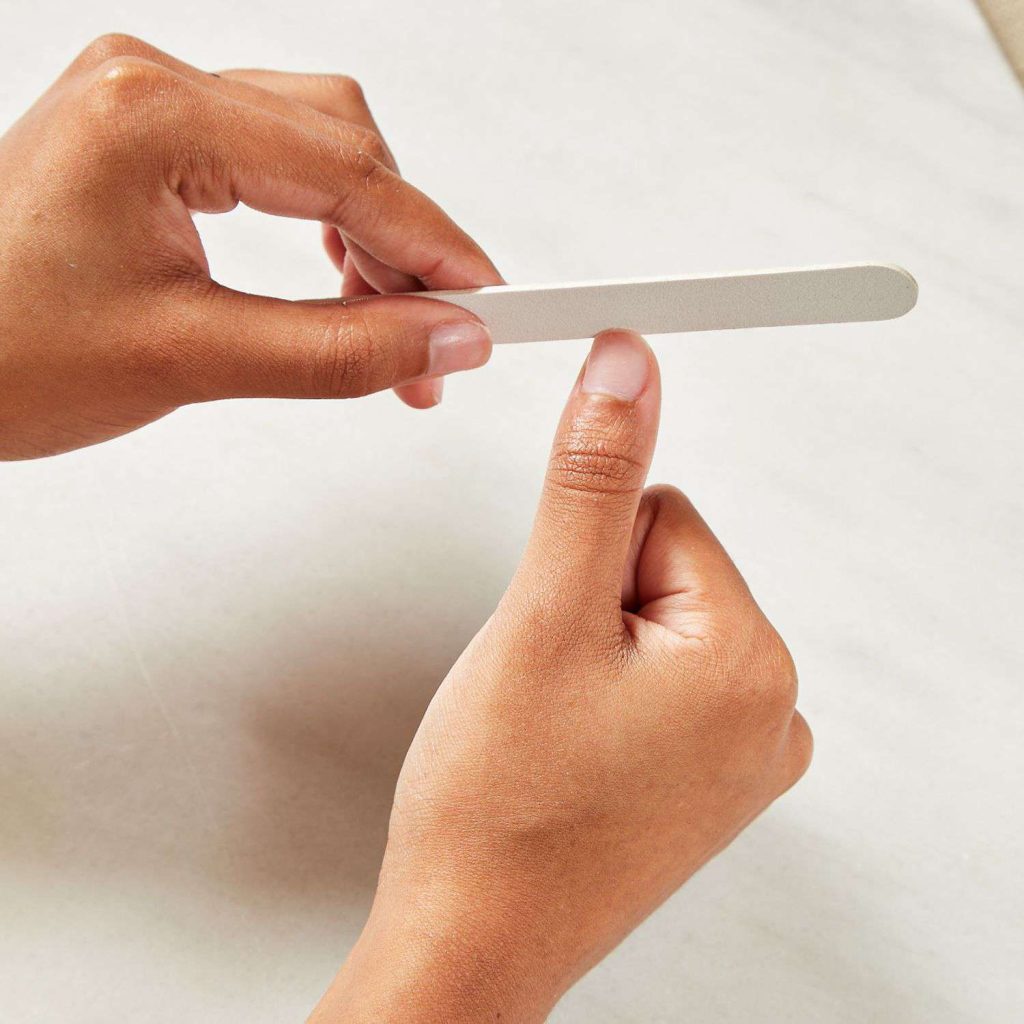
Correct filing forms the foundation of every durable, salon-grade manicure. Proper shaping seals the keratin layers of the natural nail plate, prevents edge fractures, and creates a smooth foundation for lacquer adhesion.
Nail shaping requires precise angles, calibrated grit tools, and an understanding of the nail’s anatomical structure. Licensed technicians at Nailuxe, a mobile nail service in New York City, use these fundamental filing protocols to protect natural nail health and deliver balanced shapes.
Picking Proper Tools for Your At-Home Manicure
Selecting high-grade tools directly determines shaping precision and prevents mechanical trauma to the nail plate. Professional manicure kits require three primary instruments: abrasive files with appropriate grit numbers, straight-edge clippers, and conditioning buffers.
Choosing the Right Grit File
Knowing how to choose nail file grits prevents micro-fractures in natural keratin plates. Abrasive grit numbers indicate particle coarseness per square inch; lower numbers signify coarse abrasives, while higher numbers designate finer polishing surfaces:
- 240-grit file: The ideal abrasive for shaping natural nail free edges, refining contours, and preventing layer splitting.
- 180-grit file: Suitable for gently shortening thicker natural nails and preparing medium-density overlay structures.
- 150-grit file: Reserved exclusively for artificial enhancements such as acrylic or hard gel extensions, and should never touch natural nail plates.
- 100-grit file: An ultra-coarse surface used only for bulk reduction during artificial enhancement removal.
Glass vs. Emery Files: What MobileNailNewyork Recommends for New York Clients
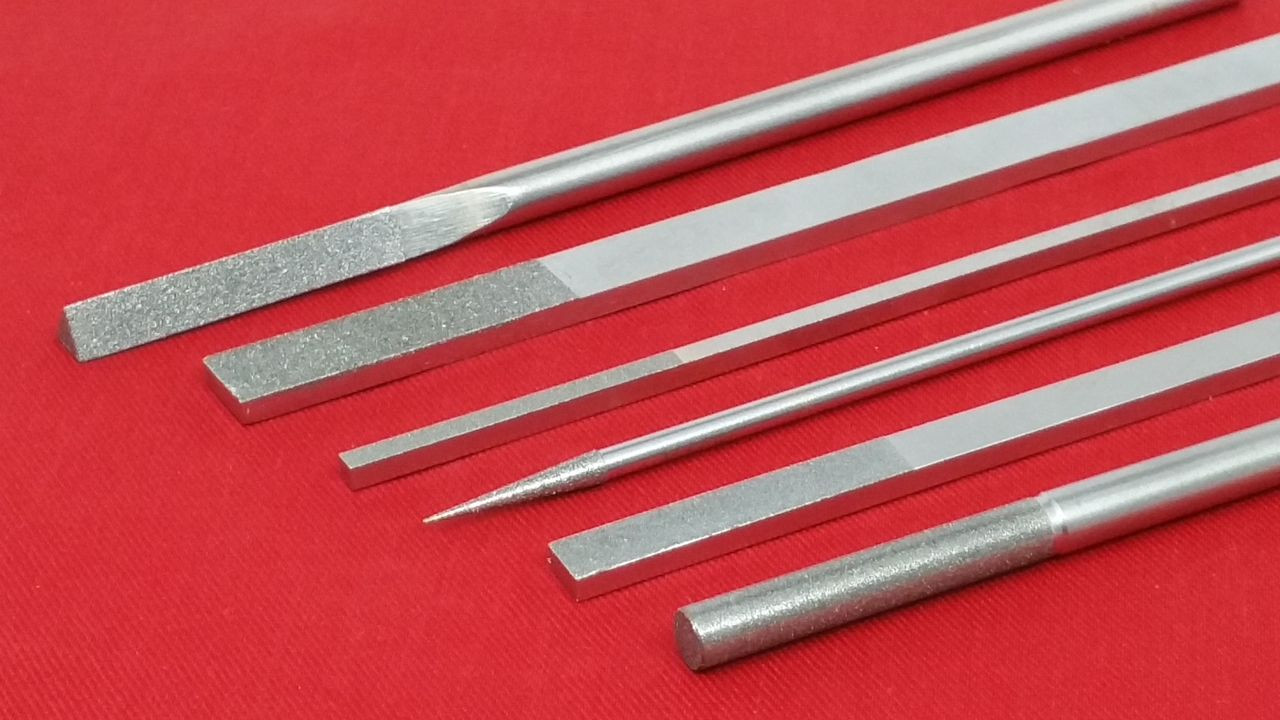
Glass files provide superior edge-sealing performance and hygienic durability compared to traditional cardboard emery boards. A genuine crystal nail file crafted from chemically etched Czech glass seals the free-edge keratin layers during filing, preventing peeling, chipping, and environmental moisture damage.
Standard emery boards consist of sandpaper glued to flexible cardboard, which wears unevenly and harbors bacterial contaminants. While emery boards suit single-use appointments, reusable etched glass files sanitize easily with hospital-grade disinfectant and maintain consistent grit indefinitely.
Preparing for a Flawless Finish
Thorough preparation establishes a clean, dry workstation and stabilizes the nail structure prior to filing. Cleansing the nail plate and assessing existing length reduces shaping resistance and minimizes breakage risks.
Step 1: Cleaning and Drying Your Fingertips
Begin by washing hands thoroughly with warm water and antibacterial liquid soap to eliminate surface oils, lotions, and microbial residues. Clean carefully beneath the hyponychium and around lateral nail folds where debris collects.
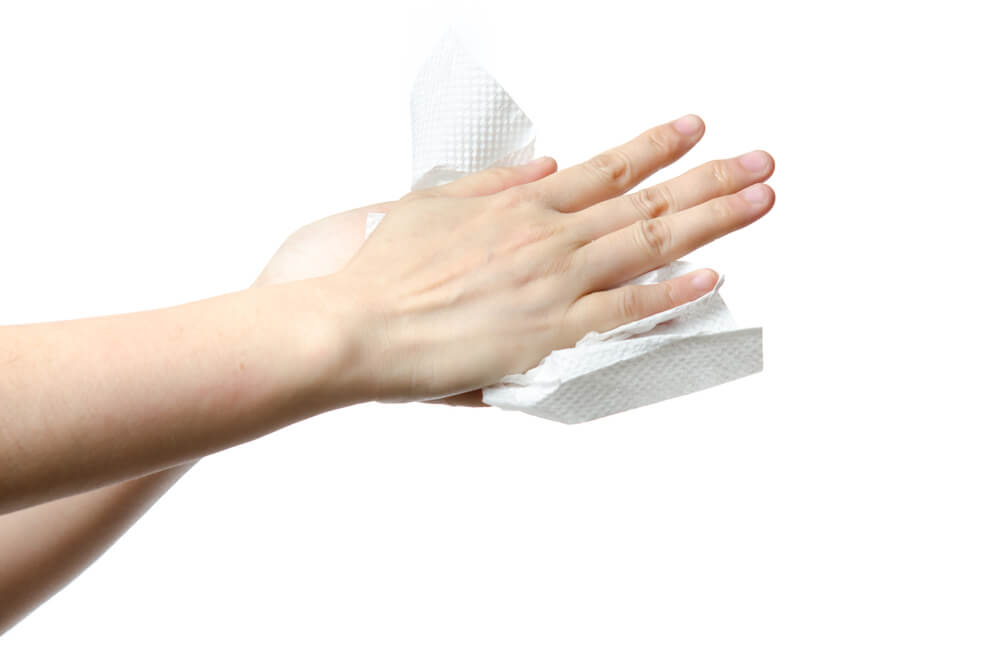
Dry hands completely with a clean lint-free towel and allow nails to rest for 10 minutes. Filing wet nails causes severe tearing because keratin absorbs water, expanding and becoming temporarily weak and pliant.
Remove existing polish using an acetone-free remover on a lint-free pad. Clear base coats or residual pigments obscure the true free edge and create drag against your file.
Step 2: Should You Trim Before Filing?
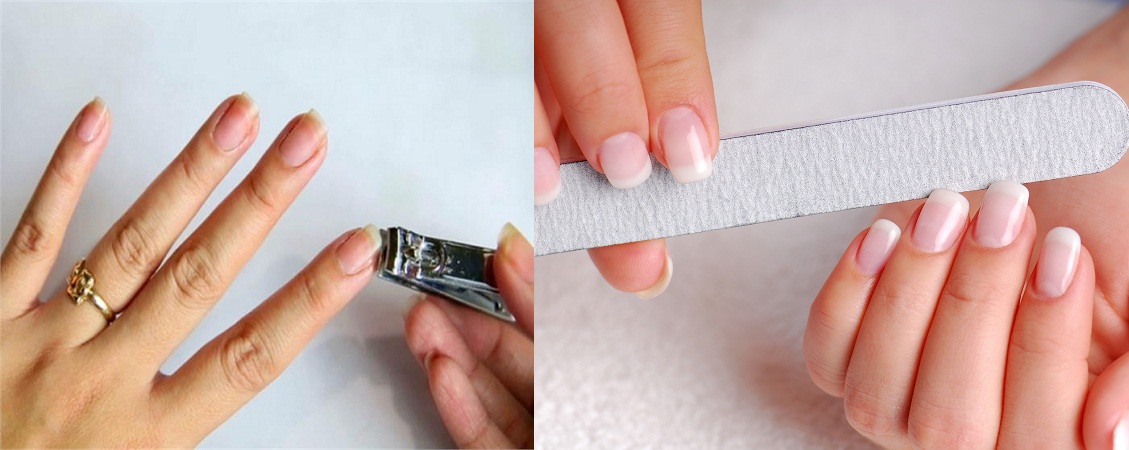
Trimming excess length with clippers is recommended whenever reducing length by more than 2 mm (0.08 in). Filing off substantial length creates excessive thermal friction and weakens nail wall attachments.
Use straight-edge stainless steel clippers rather than curved blades to maintain precise directional control. Make several small, incremental clips starting from the outer edge toward the center, rather than snapping across the middle in one compression stroke.
How to Choose Your Perfect Shape
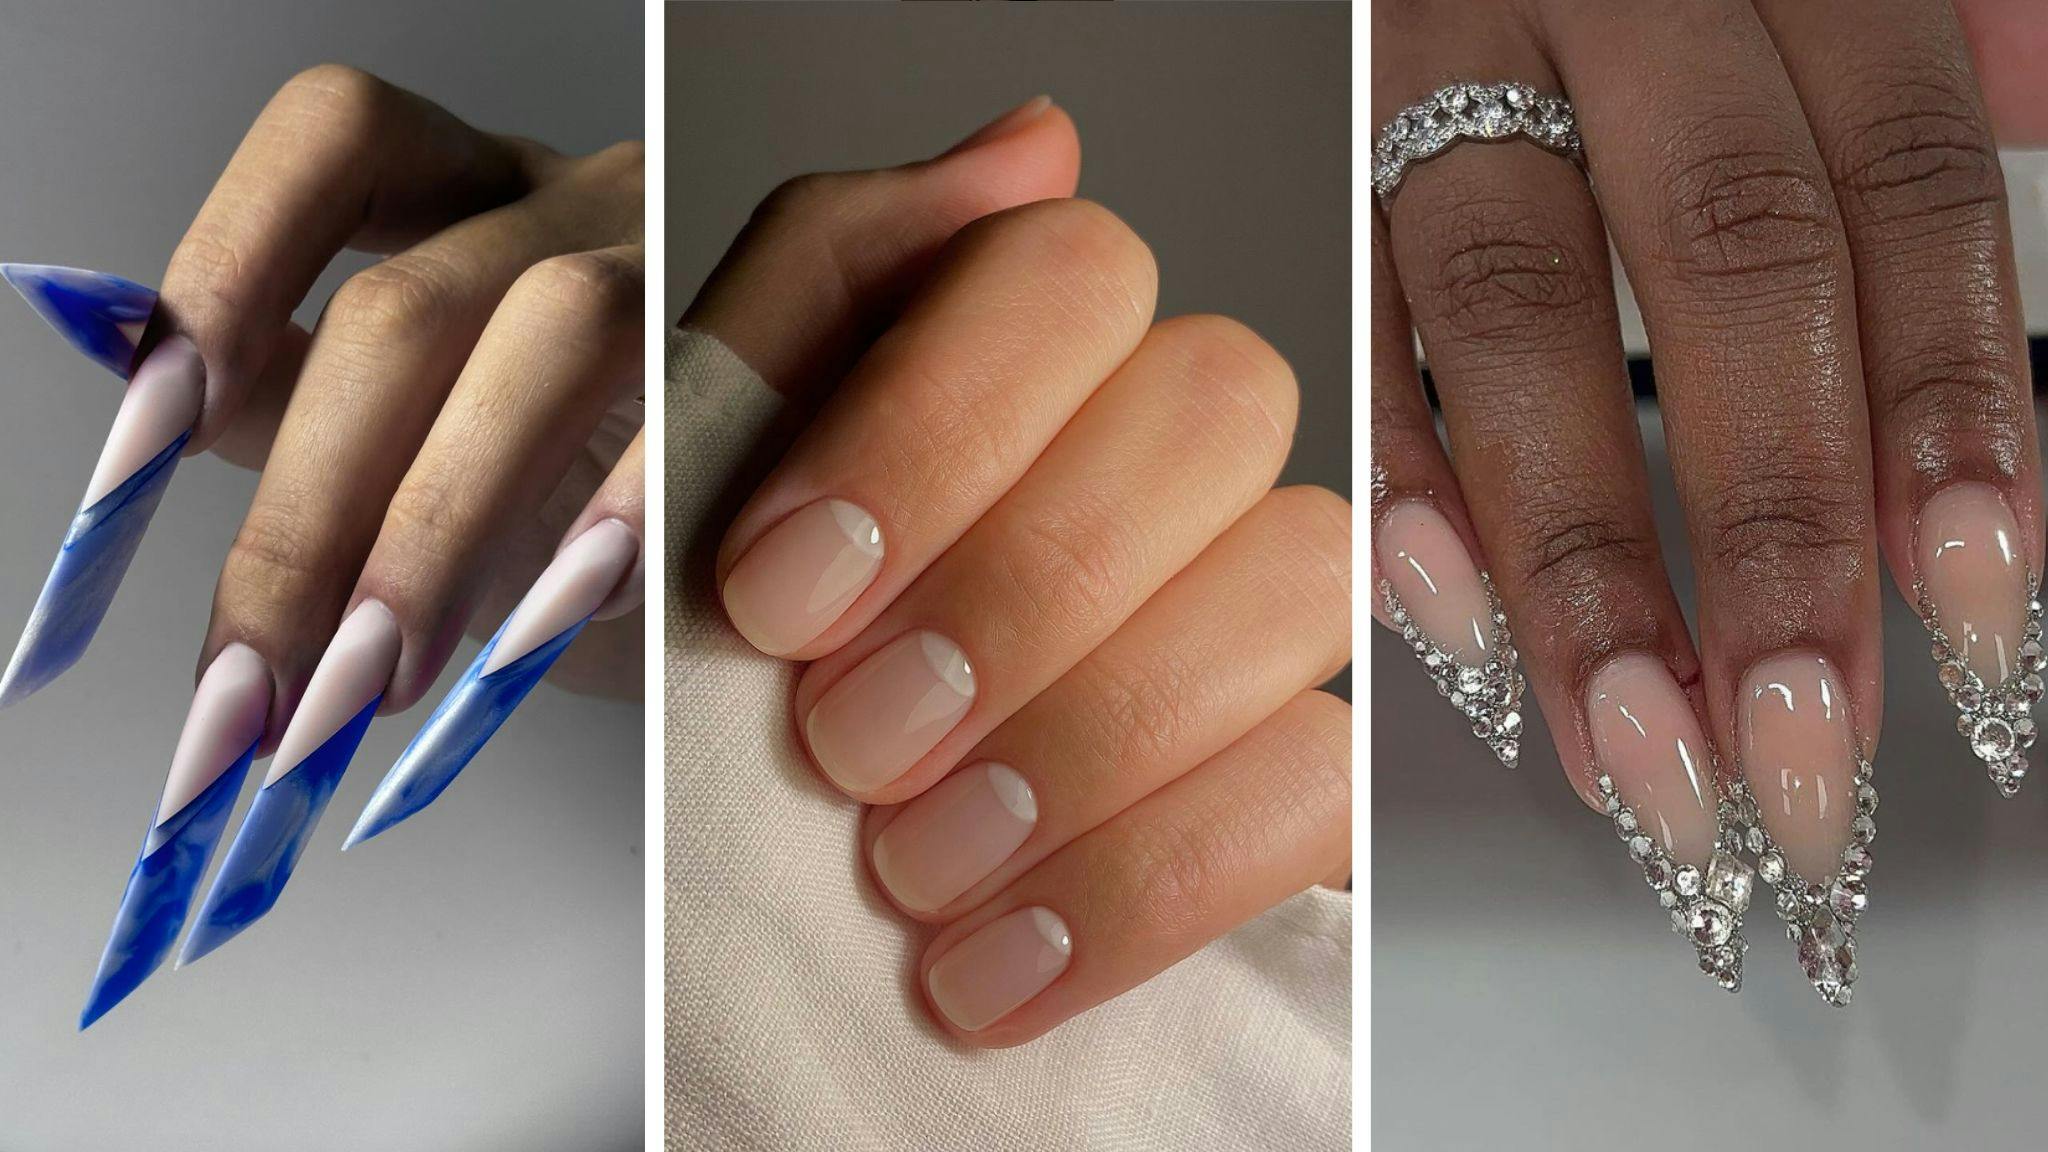
Selecting the best nail shape aligns your natural nail anatomy with daily lifestyle demands. Five primary nail shapes balance aesthetics, mechanical strength, and finger contour.
Almond Shape
Almond nails feature slender, tapered sides that converge into a softly rounded peak, resembling the silhouette of an almond. This geometry elongates shorter fingers and visually narrows wider nail beds.
To shape almond nails, file the sidewalls inward at an even angle from the lateral folds toward the central apex. Ensure the tip remains softly curved rather than sharply pointed to avoid snagging.
Oval Shape
Oval nails provide universal flattery and superior durability by mirroring the natural curvature of the cuticle line. This shape maintains straight lateral sidewalls with a smooth, semi-circular free edge.
To create an oval silhouette, file straight along the side edges, then round the corners in a fluid arc toward the center. Oval shapes withstand daily typing and impact, making them ideal for active professionals.
Square Shape
Square nails feature crisp, parallel sidewalls and a horizontal free edge filed perpendicular at a 90-degree angle. This architectural structure maximizes lateral wall support and prevents side tears.
To achieve clean square edges, hold the file flat and perpendicular against the tip while maintaining straight lateral lines. Soften the outer corners with a single gentle pass to prevent snagging on fabrics.
Squoval Shape
Squoval nails combine the lateral reinforcement of a square tip with the gentle elegance of oval corners. This hybrid geometry ranks as the most functional, break-resistant shape for natural nails.
Create a squoval profile by filing the free edge straight across, then rounding only the sharp lateral corners. This preserves the structural width across the stress points while preventing sharp corner catches.
Round Shape
Round nails follow the anatomical curve of the fingertip, making them ideal for short natural lengths and conservative grooming. This low-maintenance profile eliminates corner stress points completely.
To shape round nails, file the sidewalls straight, then sweep the file along the free edge in a continuous curved motion that matches your finger’s contour.
The Step-by-Step Guide to Proper Filing
Executing proper filing technique requires controlled mechanical motion, deliberate angles, and continuous visual inspection. Mastering these core principles ensures symmetrical, salon-quality shaping at home.
Filing in One Direction Prevents Damage
Filing in a single, unidirectional stroke protects natural nail plate integrity and prevents free-edge delamination. Back-and-forth sawing motions shred microscopic keratin layers, causing micro-fissures and subsequent peeling.
Hold the file at a 45-degree angle beneath the free edge, ensuring the grit contacts the underside of the nail plate. Stroke smoothly from the outer corner toward the center, lifting the tool completely between repetitions to avoid friction heat.
How to Shape and Perfect Your Manicure
Work methodically across your hand from the thumb to the pinky finger, completing each nail before advancing to the next. Use your first finished nail as a master template to calibrate length and curvature across both hands.
Inspect each nail from multiple viewpoints: palm facing down, palm facing up, and along the barrel profile. Mark an imaginary center guideline down the nail axis when sculpting almond or oval peaks to verify bilateral symmetry.
Finishing and Maintaining Your Shape
Smooth rough edges and burrs using a high-grit finishing buffer (400–600 grit) held at a 45-degree angle under the free edge. Light upward passes bevel the underside and remove detached keratin shavings.
Remove filing dust using a sanitized brush, then apply jojoba- or vitamin E-based cuticle oil across the nail plate and periungual skin to rehydrate keratin fibers.
Common Mistakes to Avoid at Home
Avoiding common mechanical filing errors prevents onycholysis, lateral splitting, and nail plate thinning. Understanding the behavioral pitfalls of at-home care protects natural keratin health.
Expert Tips for Filing Long vs. Short Lengths
Long nails require sectional filing to preserve lateral strength across the extended stress area. File one-third of the free edge at a time using gentle, controlled strokes, blending sections into a uniform curve.
Short nails require light pressure and finer 240-grit files to prevent over-filing the sensitive hyponychium beneath the free edge. When transitioning significantly from long to short length, trim with clippers first to avoid lateral stress fractures.
Frequently Asked Questions
Why Shouldn’t You Use a ‘Sawing’ Motion?
You should not use a sawing motion because back-and-forth friction causes microscopic keratin fractures and edge delamination. Sawing creates friction heat that stresses the nail bed and frays the free edge. Professional technicians always file in one direction from outer corner to center to seal the edge and prevent splits.
What Are the Dangers of Filing When Wet?
Filing when wet causes severe tearing and edge splitting because water-saturated keratin becomes excessively soft and pliable. Hydrated nails bend under the file rather than cutting cleanly, resulting in uneven jagged edges. Wait at least 10 minutes after washing or showering until nails dry completely before filing.
How Can You Avoid Over-Filing the Sides?
You can avoid over-filing the sides by keeping your file strictly on the free edge and off the lateral sidewall grooves. Filing into lateral stress points weakens structural integrity and can cause painful cracks or ingrown edges. Maintain the natural straight growth of the sidewalls and curve only the extended free edge.
What Should You Avoid When Filing?
To maintain healthy nails, avoid metal files, wet filing, excessive daily friction, and filing living cuticle skin. Professional nail health standards require avoiding four specific practices:
- Metal files: Metal rasps tear keratin plates and create ragged free edges; choose etched glass files instead.
- Wet filing: Water expands nail plates, leading to structural tears and edge shredding.
- Daily filing: Constant mechanical abrasion thins the free edge and prevents natural fingernail growth (which averages 3.47 mm (0.14 in) monthly).
- Ignoring pain or heat: Discomfort indicates friction burning or excessive thinning of the nail bed; cease filing immediately if sensation occurs.
Get a Professional Manicure at Home in New York with MobileNailNewyork
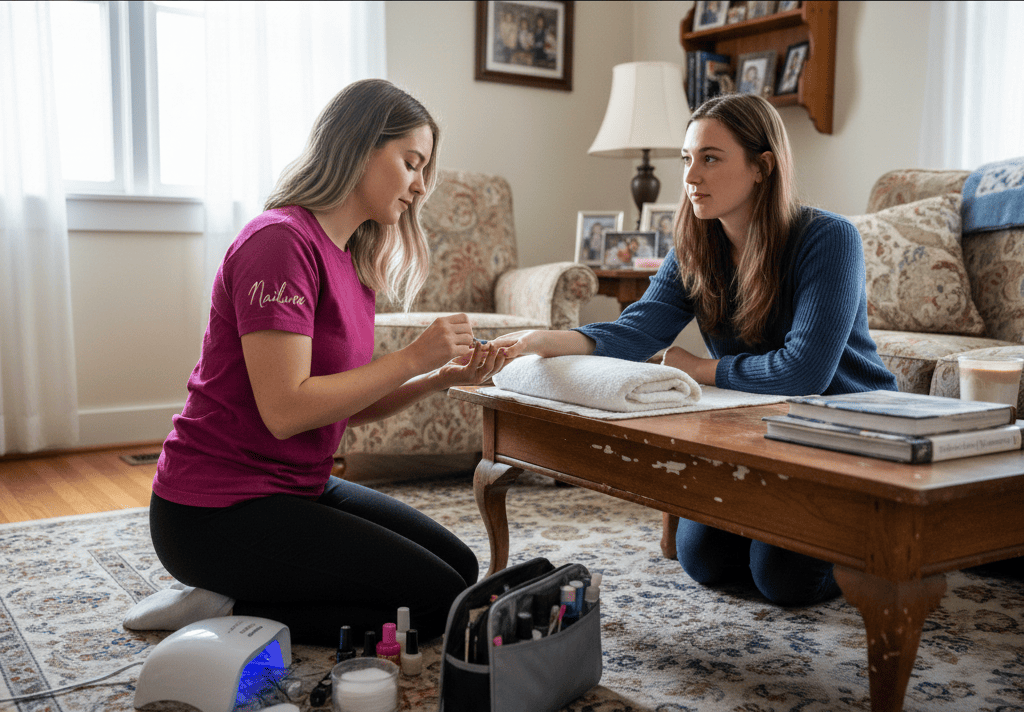
Nailuxe, a mobile nail service in New York City, delivers licensed technicians directly to your home across Manhattan, Brooklyn, Queens, The Bronx, and Staten Island from 07:00 to 21:00, seven days a week. Operating from 191 Hancock St, Brooklyn, NY 11216 (appointment-only operations base; no walk-in service), our technicians arrive with single-use files and steam-autoclaved tools sealed at 121°C (250°F). Book our mobile nails brooklyn service with a $0 travel fee, or schedule your mobile appointment online 24 hours at mobilenailnewyork.com or by phone at +1442-555-4022.
Whether perfecting your shaping routine at home or scheduling a professional appointment, proper filing technique preserves natural nail health and ensures lasting manicure durability.
