

Changing your manicure shape transforms hand aesthetics and balances finger proportions. Whether transitioning from square to almond or oval to coffin, reshaping requires deliberate filing technique, structural awareness, and patience. Before filing, you should find your nail shape to complement your natural nail bed and lifestyle. This guide details the steps to safely transition nail shapes at home while protecting the structural integrity of your natural nail plate and enhancements.
Understanding the Basics of Reshaping Your Manicure
Reshaping a manicure involves filing the free edge and sidewalls to alter the nail’s silhouette. Success depends on your starting silhouette, desired profile, and available nail plate length. Almond shapes elongate fingers, square silhouettes provide crisp linear edges, and squoval profiles balance strength with everyday versatility.
Safe transitions rely on understanding basic nail anatomy. The nail matrix, lateral sidewalls, and free edge govern nail strength. Rushing a transition removes excess keratin from the stress points, causing lateral wall cracking or immediate breakage.
Natural fingernails grow approximately 3.47 mm (0.14 in) per month and require 2 to 4 weeks to adjust to a new silhouette. Artificial enhancements, such as acrylics, hard gel, and dip powder, allow faster geometric restructuring during a single service.
Key Considerations Before Changing Your Manicure’s Shape
Assessing Your Length and Health
Current free edge length determines which shapes you can achieve immediately. Short free edges suit round, squoval, or classic square styles, while tapered almond, coffin, and stiletto shapes require substantial length beyond the hyponychium. Wide nail beds benefit from oval or almond silhouettes that create an elongating vertical line, whereas narrow nail beds accommodate square or coffin shapes that introduce width.
Nail plate health must be evaluated before altering any silhouette. Inspect your nails for signs of onycholysis, thinning, or peeling layers. Damaged keratin requires fortifying treatments and rest before attempting sharp geometric transitions. The American Academy of Dermatology recommends keeping cuticles hydrated and avoiding aggressive filing to preserve the nail barrier.
Active nail disorders require medical clearance before cosmetic reshaping. Fungal infections, psoriasis, or chronic trauma compromise nail density and prevent shapes from holding structural tension. Treat underlying conditions completely before initiating a shape change.
Natural Nails vs. Acrylics or Gels: What’s Different?
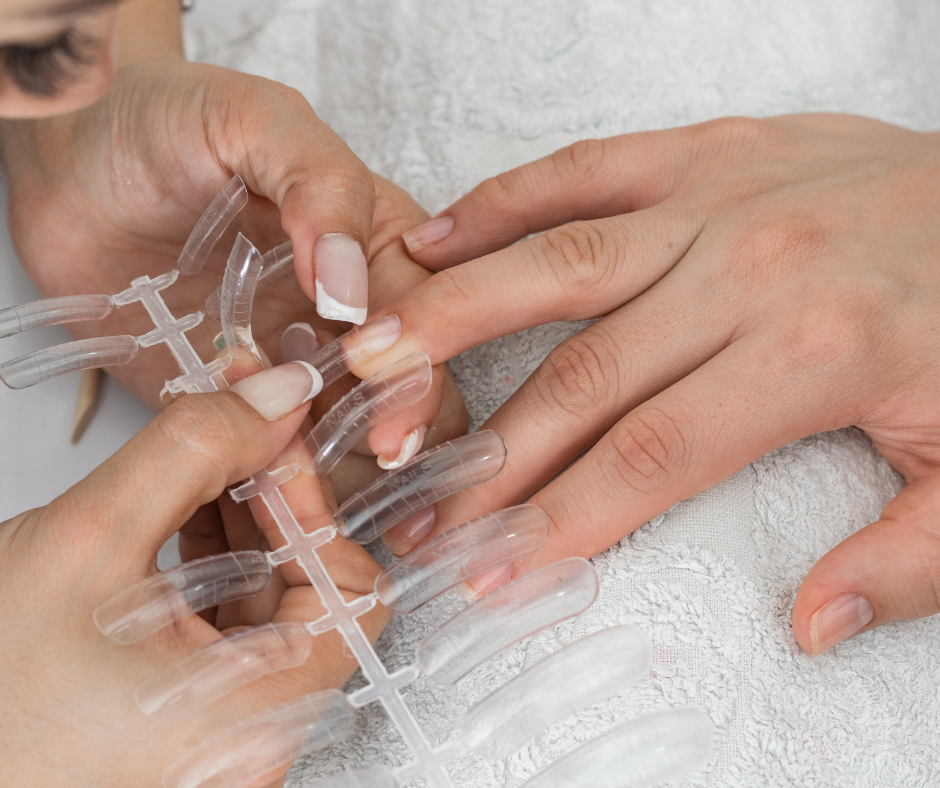
Natural nails require gradual filing sessions to preserve their natural apex and lateral strength. Filing must follow one direction along the natural growth axis, requiring multiple bi-weekly appointments for dramatic changes.
Artificial enhancements offer instant geometric transformation without waiting for biological growth. Booking at home acrylic nails nyc services provides the extension length and structural apex necessary for drastic silhouette transitions. Enhancements built with dip powder—a frequent choice for mobile dip nails nyc clients—or builder gels allow technicians to sculpt new arches in one visit.
Significant shape alterations frequently require enhancement removal rather than reshaping. Your licensed technician will evaluate whether your existing product overlay can bear the rebalance or if a fresh set protects natural nail health better.
Choosing a New Shape That Complements Your Hands
Hand anatomy and finger morphology dictate the most flattering nail silhouette. Slender, elongated fingers suit narrow almond, coffin, or stiletto profiles. Shorter fingers achieve balanced proportions through oval, round, or softly rounded squoval contours.
Daily lifestyle and manual activity directly influence silhouette durability. Individuals with high-friction manual jobs or frequent typing benefit from short squoval or rounded edges that resist chipping. Dramatic almond and coffin silhouettes suit special events and style shifts, aligning with current trends in long nails 2025.
Personal aesthetics and wardrobe choices should harmonize with your nail silhouette. Rounded edges complement softer, classic styles, while angular coffin and sharp square tips match modern, structured looks. Evaluating your daily habits helps you identify the best manicure shape for your hands.

A Step-by-Step Guide to Reshaping Your Nails at Home
Essential Tools You Will Need for the Transition
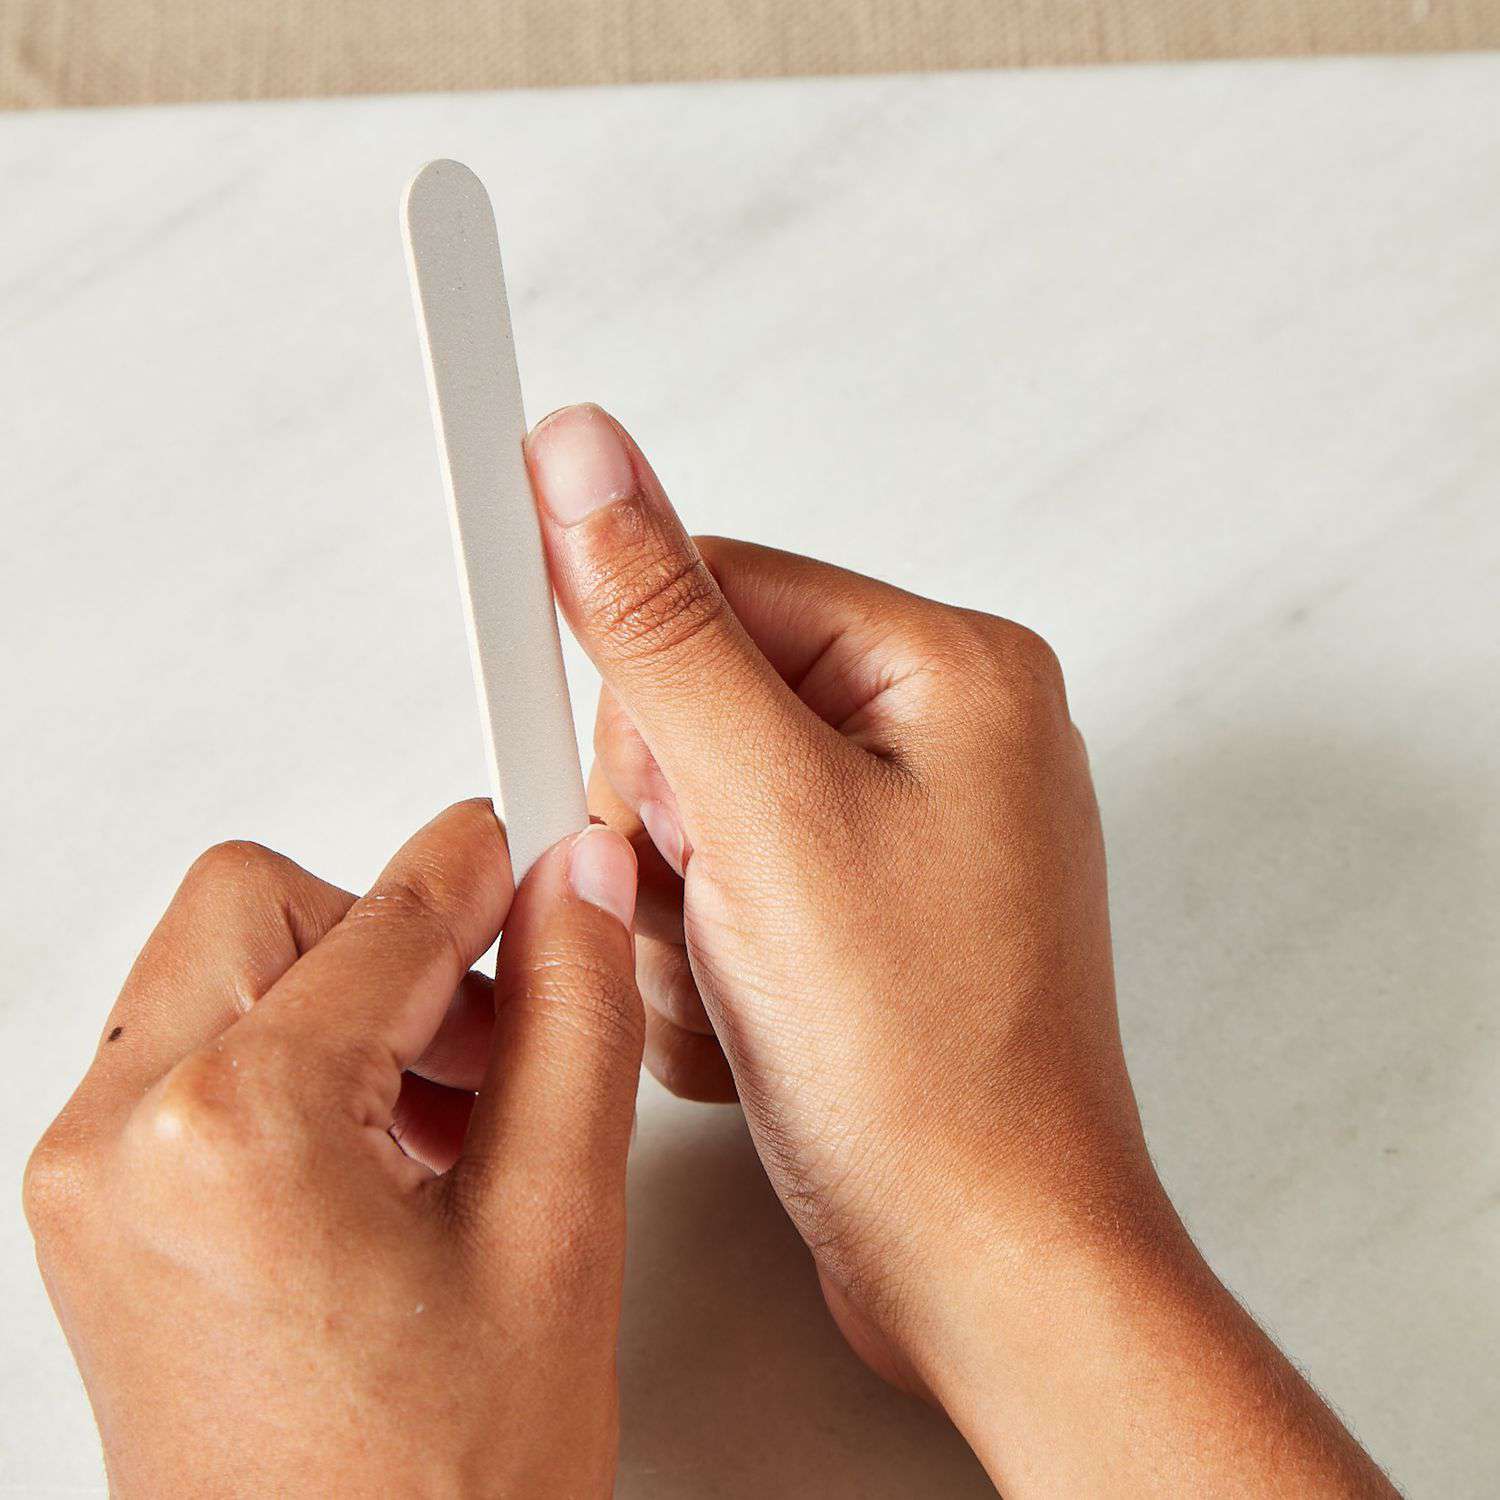
Professional implements prevent mechanical trauma during nail reshaping. Etched glass files provide superior control, sealing keratin layers smoothly without creating micro-fissures. Use 240-grit or higher files on natural nails, reserving medium 100/180-grit abrasive files exclusively for artificial enhancements.
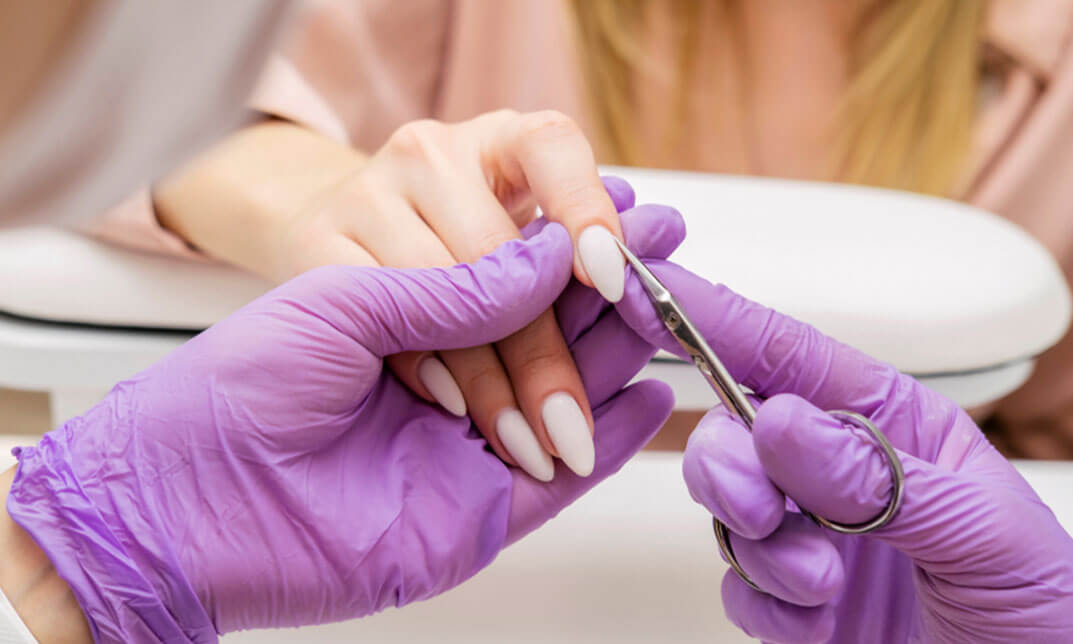
Stainless steel clippers reduce free edge length cleanly prior to filing. Straight-edge clippers establish the flat tips required for square and coffin shapes, while curved clippers suit round and oval contours. Surgical-grade stainless steel maintains sharp cutting blades through repeated sanitization.
Additional necessary supplies include a four-way buffer block, an ergonomic cuticle pusher, and 70% isopropyl alcohol for tool sanitation. Maintain dedicated tool kits for individual household members to eliminate cross-contamination risks.
Step 1: Preparing Your Nails for Reshaping
Cleanse your nail beds thoroughly before initiating any filing. Remove old lacquer using an acetone-free remover to preserve nail plate hydration. Wash hands with antibacterial soap and warm water to strip surface oils, then gently ease back the eponychium with a sanitized cuticle pusher.
Disinfect your implements with 70% isopropyl alcohol or an EPA-registered sanitizer before use. Clean surfaces protect against bacterial paronychia and support salon-grade hygiene standards.
Inspect each nail plate under direct daylight illumination. Note minor cracks, weak stress zones, and uneven growth trajectories across both hands to tailor your filing angle individually.
Step 2: Filing Techniques for Popular Shapes
Square to Almond Transition: Clip excess corner length while preserving center free edge length. File each lateral sidewall at an inward angle toward the center tip using smooth, single-direction strokes. Round the point gently to produce a tapered, soft almond silhouette without filing into the natural smile line.
Round to Square Transformation: Grow free edges straight out until sufficient corner material develops. Hold your file perpendicular at a 90-degree angle to the free edge, filing straight across to establish a horizontal tip. File sidewalls straight and parallel to the finger axis for crisp geometry.
Oval Refinement: File inward from the outer sidewalls toward the free edge center, maintaining a balanced curve. Mirror the natural curvature of your cuticle line along the free edge. Avoid over-narrowing the tip, which weakens the natural stress area.
Step 3: Buffing and Finishing for a Smooth Look
Buffing smooths microscopic filing burrs and evens surface texture. Work through a four-way buffer from the medium grit side to the finest polishing pad. Use light, sweeping passes along the free edge perimeter to remove dangling keratin debris.
Massage pure jojoba or vitamin E cuticle oil into the nail folds and hyponychium immediately after filing. Regular topical oil application restores flexibility, preventing brittleness and painful hangnails.
Apply a fortifying keratin base coat if you intend to wear polish. Letting natural nails rest bare for 24 hours after major reshaping allows you to monitor edge stability and make minor filing corrections safely.
How to Transition Between Popular Shapes
From Square to Almond or Coffin
Transitioning from square to tapered shapes requires eliminating sharp outer corners while maintaining structural sidewall strength. Map your centerline visually using the knuckle as your axis to ensure symmetry across all ten fingers.
File the outer corners gradually at a 45-degree angle toward the tip. Remove small amounts of keratin in controlled single-direction strokes to avoid over-filing the lateral stress points. Maintaining gentle curves along the sidewalls ensures maximum structural resilience for almond tips.
Coffin transitions require straight, tapered sidewalls capped by a blunt, squared-off tip. Ensure your natural nails or extensions possess at least 5 to 7 mm of free edge length to achieve balanced coffin proportions without stubbiness.
From Almond to a Square or Squoval Shape
Converting almond silhouettes into square or squoval profiles requires reducing tip length or applying enhancements. Because almond tips lack lateral corners, length must be shortened to where the sidewalls remain straight and parallel.
File straight across the free edge at a 90-degree angle to establish the blunt horizontal baseline. Refine both sidewalls into parallel alignment, removing residual curve remnants.
Squoval shapes offer an easier transition from almond nails. Soften the tapered almond tip into a flat horizontal edge, leaving gently rounded corners that resist snagging while providing a modern silhouette.
From Oval or Round to a Sharper Style
Changing curved, rounded profiles into angular square or coffin profiles requires deliberate sidewall straightening. Identify the widest point of the nail bed to establish straight parallel boundaries.
Shape crisp corners by filing the free edge horizontally while holding the file strictly perpendicular to the nail plate. Work slowly to prevent excessive thinning at the lateral junctions where natural nails split easily.
Sharp angular styles place concentrated stress on natural nail corners. Apply strengthening keratin treatments for 1 to 2 weeks before reshaping natural nails into sharp profiles.
Fill vs. Full Set: Changing Your Shape with Enhancements
Can You Change Shape with a Fill?
Minor silhouette adjustments are achievable during routine rebalance appointments. Whether maintaining standard builder gel or scheduling a mobile gel manicure nyc service, shifting from square to squoval or softly tapering an oval silhouette requires only minor filing and strategic product rebalancing over the apex.
Drastic shape transformations usually exceed the structural capacity of a standard fill. Altering an enhancement’s footprint without rebuilding its foundation compromises apex balance, leading to premature cracking or product lifting.
Your nail technician evaluates existing product thickness, enhancement adhesion, and target length to determine whether a rebalance suffices. Professional guidance guarantees structural longevity and protects underlying natural keratin.
When is a New Full Set Necessary for a Shape Change?
A new full set is mandatory when converting between opposite geometric profiles, such as round to sharp coffin or narrow stiletto to wide square. Enhancements sculpted for rounded silhouettes lack the lateral product density necessary to support sharp corners safely.
Length changes exceeding 3 to 4 mm require a full set replacement to establish correct apex architecture. Extending length during a standard fill shifts the stress point forward, creating weak points that trigger painful breaks.
Enhancement age also dictates replacement timing. Sets worn beyond 3 to 4 weeks benefit from complete soak-off removal and fresh application, ensuring hygienic adhesion and preventing moisture entrapment under lifted product.
Expert Advice for a Perfect Transition at Your Next Appointment
Communicate your silhouette objectives clearly with your nail technician before filing commences. Bring clear reference photographs showing your desired shape, length, and apex profile from multiple perspectives.
Book a consultation prior to executing major silhouette changes. Experienced nail technicians evaluate nail bed proportions, keratin health, and maintenance habits to recommend suitable options, ensuring realistic expectations.
Factor seasonal demands into your shape decisions. Shorter, rounded profiles offer practical durability during active outdoor months, while dramatic almond and coffin enhancements excel during winter and formal event seasons.
Common Mistakes to Avoid When Reshaping
Sawing back and forth with a nail file creates micro-fractures in the free edge, causing splitting and peeling layers. Always file in one fluid direction from the outer sidewall toward the center line to seal the keratin edge.
Rushing the reshaping process leads to asymmetrical profiles, weakened stress points, and unexpected breaks. Inspect progress frequently from the wearer’s angle and the observer’s angle to maintain balanced proportions across both hands.
Ignoring nail plate hydration compromises the durability of new silhouettes. Massage cuticle oil daily and apply conditioning base coats to keep keratin supple and resilient against mechanical impacts.
Using inappropriate file grits causes severe nail plate damage. Coarse 80- or 100-grit files shred natural nail fibers and should be reserved exclusively for acrylic and dip enhancements. Use 240-grit or finer files for natural nail shaping.
Why a Professional Transition Matters: The MobileNailNewyork At-Home Service in New York
Professional nail transitions safeguard natural nail health while delivering symmetrical, balanced geometry. Licensed technicians evaluate lateral sidewall density, stress points, and matrix health to execute complex silhouette changes without damaging natural nail plates.
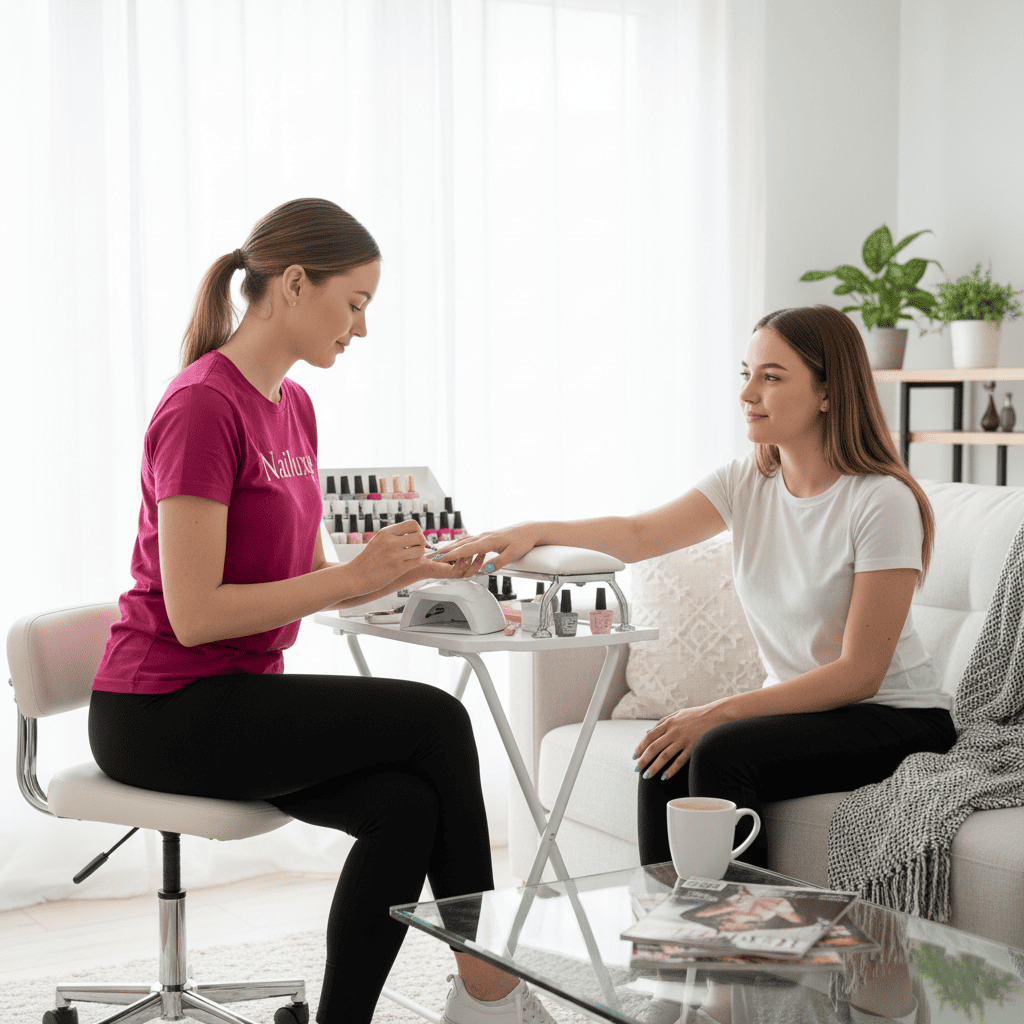
Nailuxe, a mobile nail service in New York City, delivers salon-grade nail care directly to your home across Manhattan, Brooklyn, Queens, The Bronx, and Staten Island. Every Nailuxe technician holds a New York State Nail Specialty License and completes 60 hours of advanced academy training. All metal tools are steam-autoclaved at 121°C (250°F) for 30 minutes in sealed pouches with color-change indicators, opened in front of you alongside single-use files and buffers. Whether you need an acrylic rebalance or convenient at home nails bronx appointments, Nailuxe brings an organized, sanitary studio setup right to your table.
Maintaining Your New Shape with MobileNailNewyork
Consistent maintenance prevents shape distortion as natural nails grow. Fingernails grow approximately 3.47 mm (0.14 in) each month, shifting the apex and altering the balance of your chosen silhouette. Book touch-ups every 2 to 3 weeks for natural manicures and enhancement fills.
Home care between visits extends the durability of your new silhouette. Apply cuticle oil daily to nourish the eponychium, wear protective rubber gloves during household cleaning, and never use free edges as scraping tools. Every service is backed by the Nailuxe 7-Day Care Promise (3 days for regular polish), offering complimentary fix appointments for any chipping or lifting within the guarantee window.
Frequently Asked Questions About Transitioning Shapes
What is the strongest nail shape to prevent breakage?
Squoval and round shapes are the strongest nail shapes to prevent breakage on natural nails. These contours distribute mechanical stress evenly along the nail plate, minimizing stress concentration points where cracks typically begin. The American Academy of Dermatology highlights that softly rounded edges significantly decrease snagging and edge fractures compared to sharp, angular styles. You can explore further details on the best nail shapes for daily durability.
How long does it take to transition from one nail shape to another?
It takes approximately 2 to 4 weeks to transition between nail shapes on natural nails. Minor adjustments, such as shifting from square to squoval, require only one filing session. Dramatic silhouette changes, such as moving from short round to tapered almond, require multiple weeks of natural growth to develop necessary lateral length.
What should I do if I hate my new nail shape?
You should contact your licensed nail technician immediately if you dislike your new nail shape. Technicians can easily soften sharp edges, round off aggressive points, or shorten length during a follow-up appointment. If an enhancement silhouette is unsatisfactory, a professional soak-off removal and new full set application will restore your preferred aesthetic safely.
Experience personalized, salon-grade nail care in the comfort and privacy of your home with Nailuxe. Our licensed technicians bring sterilized implements, premium non-toxic polishes, and custom shaping expertise directly to your door anywhere in New York City.
Book your appointment with Nailuxe today:
- Operations Base: 191 Hancock St, Brooklyn, NY 11216, United States (no walk-in service)
- Hotline: +1442-555-4022
- Email: [email protected]
- Website: https://mobilenailnewyork.com
- Hours: 07:00–21:00 (7 AM–9 PM), Monday to Sunday
- Service Area: Manhattan, Brooklyn, Queens, The Bronx, Staten Island
